LESSON ONE: Shapes
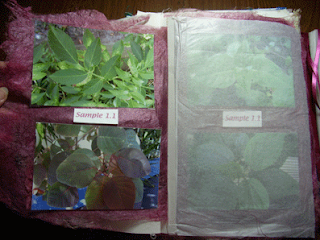
Lesson one had me looking at unifying factors of shapes, & below you will see the photos of what I came up with. First off I choose leaves in my garden. And all though they are different types of leaves, They are all brought together by one unifying factor, their shape.


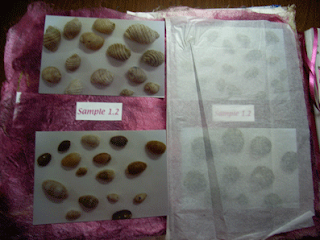
Secondly I choose shells. These too are different types, but the same in shapes.
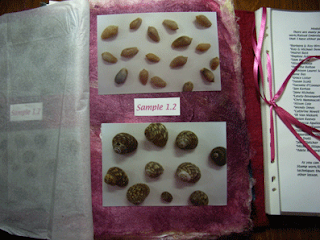
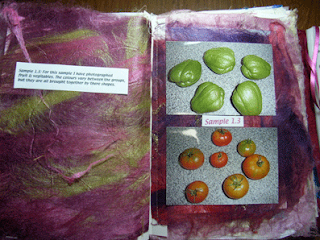
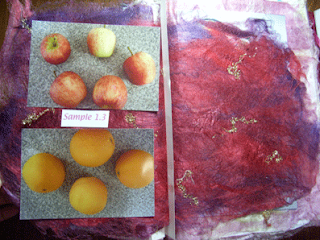
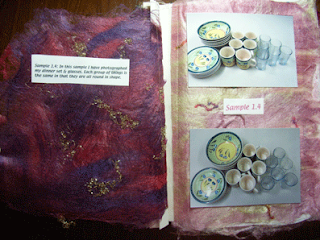
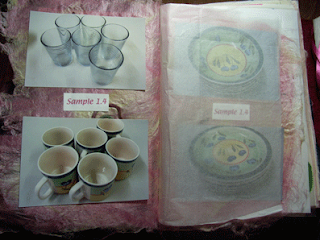
Thirdly I have chosen food, then for the fourth sample I choose objects from my kitchen that where all similar in shape.
LESSON TWO: Continuing with shapes
In this lesson we are continuing to look at repeating shapes. Only this time we have to draw them ourselves, using felt tip pens.
Sample 1.1 for this sample I have chosen the heart. I have repeated the shape several times on the page, the only difference being in that I have changed the size & direction in which I drew them.
Sample 1.2: Still using the heart shape, I have repeated the design again, only this time I have altered the shapes slightly.
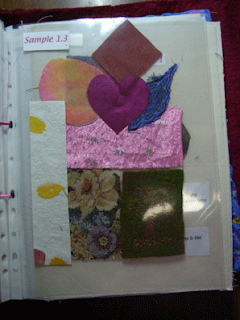
Sample 1.3: In the above photo you can see that once again I have used the heart shape. This time not only changing the shape slightly, I have also changed the colours used. In doing so it has created a pleasing finish to the design.
LESSON 3: Playing with shapes
In this lesson we had to take 5 related shapes (see sample 1.1) Then in sample 1.2 we had to create patterns. Using only one colour. In sample 1.3 we had to create another patterned shape from the shapes, but this time we had to use different colours. And then finally in sample 1.4 we had to look at the negative shapes, & draw them.

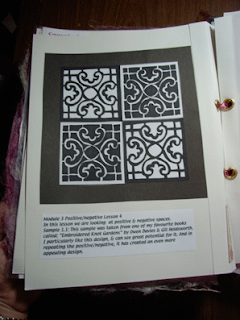
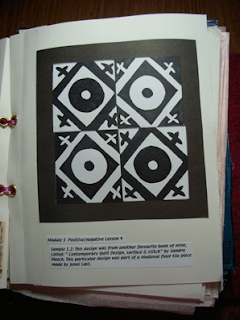
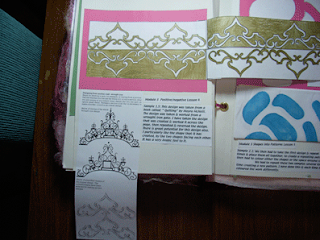
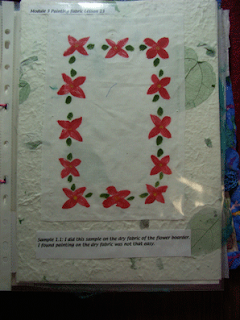
LESSON 4: Positive/Negative
In this lesson we are looking at positive & Negative spaces within designs. In the following samples you will see how I have taken one of each of the designs & repeated each four times. Then I have coloured two positives & two negative of each, to create a new design.

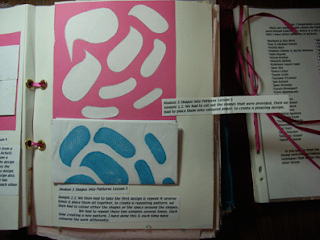
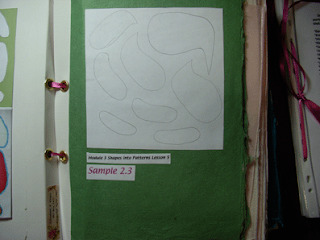
LESSON 5: Shapes into Patterns
In this lesson we were given a page of shapes, & we had to cut them out, & then play around with the layout of the shapes. Once we were happy with the layout we then had to glue them down. After doing this we then had to photo copy the design four times, & then create a new pattern with the four photo copies. We then had to colour the shapes or the negative spaces. We had to do several samples of this process. All are followed.
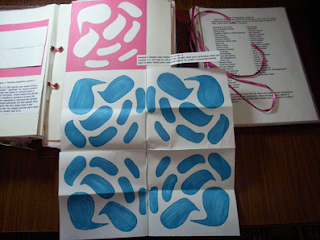

With these last two samples I have cut the shapes from a piece of paper, then glued them down in the design format that I came up with. And to not waist the negative space I have glued that down to another piece of paper, to create a new design.
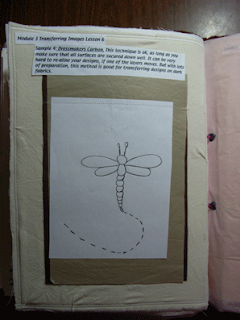
LESSON 6: Transferring Images
In this lesson we are looking at different ways in which to transfer our patterns to fabric. We are given five methods of doing this. And asked to trial each one. The Five are: Tracing, Light Box, Prick & Pounce, Dress makers carbon & Tissue Paper.
Each method is as good as the next, but it all depends on the type of fabric you are using, to which method works best. And most of these methods can leave your fabric quite messy, if you are not careful.
Following are my five samples:
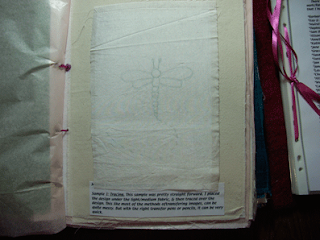
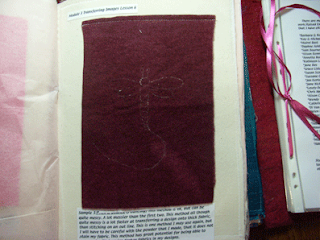
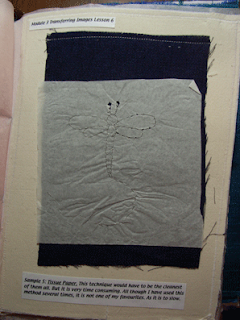
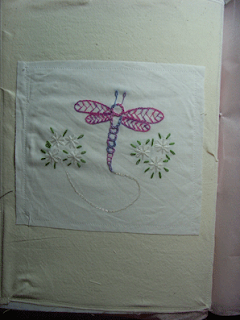
Finally in this question, I have used one of the methods & traced a design onto fabric, then embroidered the design. Can you tell what method I used?
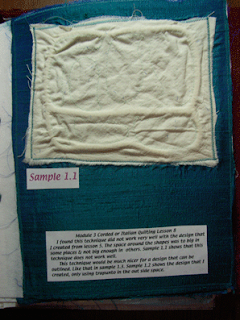
LESSON 7: Corded or Italian Quilting
When I first read this lesson, I had no idea at all what corded or Italian quilting was.
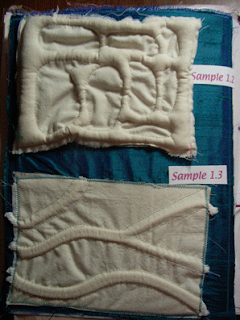
We were asked to take one of our designs from lesson five & use this to do the Corded/Italian quilting. I found this technique did not work very well with the design that I had chosen. The spaces around the shapes where to wide. ( sample 1.1) In sample 1.2 I used the same design, only this time I filled the space with wadding, more of a trapunto than Corded. In sample 1.3 I have used a different design to attempt the Corded/Italian quilting on, & feel much happier with this design.
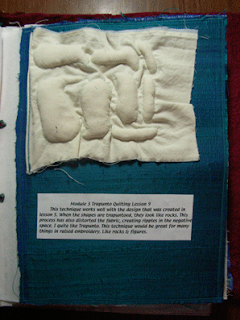
LESSON 9:Trapunto Quilting
In this lesson we again had to use the design that we had created in lesson five. But this time we filled in the spaces rather than the outside shapes. I much prefer this method to the corded/Italian quilting.
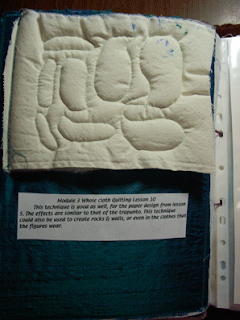
LESSON 10: Wholecloth Quilting
In this lesson we where looking at the form of quilting that I know well. The one where you have your wadding sandwiched between your two pieces of fabric.
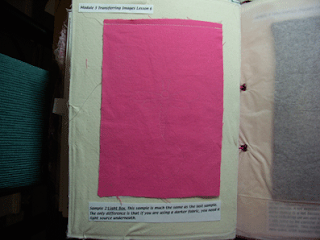
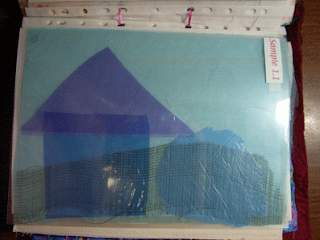
LESSON 11: Seeing is Believing
For this lesson, we were asked to create three collages representing the three levels of density. Transparent, translucent & opaque.
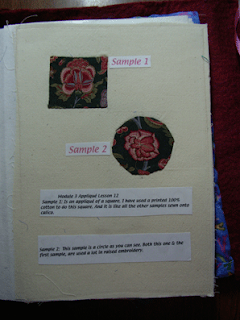
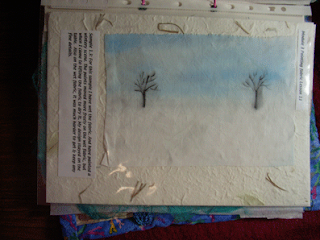
LESSON 12: Applique
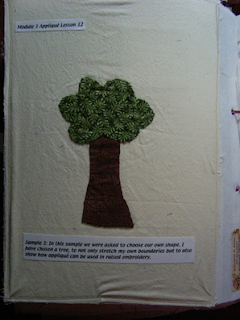
In this lesson we were given two shapes with which we had to applique. The first sample is of a square, the second is a circle. In the third sample we had to choose a shape or design of our own choosing & then applique it. For this one I choose a tree.
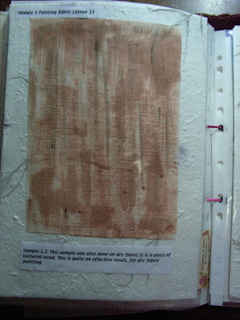
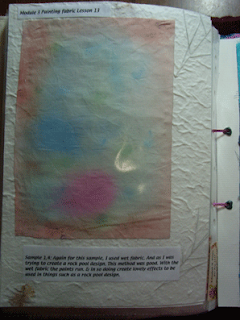
LESSON 13: Painting Fabric
In this lesson we had to practice painting on fabrics. Trying a wet method & a dry. The results were quite amazing.
LESSON 14: Moving on
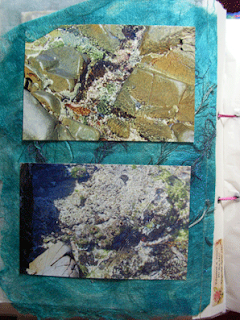
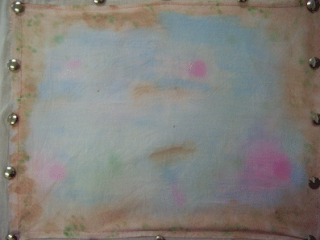
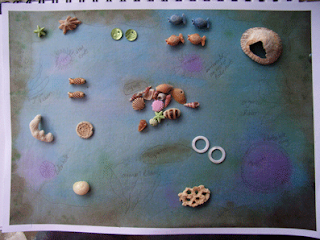
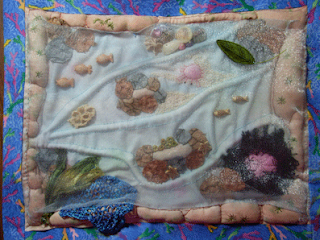
In this lesson we were asked to create a rock pool, using all of the techniques that we have learned through out this module & other modules. To get the best out of my design, I first took loads of photographs of rock pools near where I live. I then painted a piece of fabric, that I would use for the background. After doing this I then photo copied the fabric & drew on some designs & laid out some beads & things to get a general idea of what I wanted.
From there I started to do the different elements of the rock pool. To tie the whole thing together, I laid a piece of very pale blue chiffon over the top of everything, to help give the depth of looking down into a rock pool. On top of that I added a raised embroidered leaf, to make it look as though it where floating on the top of the water. It was quite a fun venture & one I will one day redo.
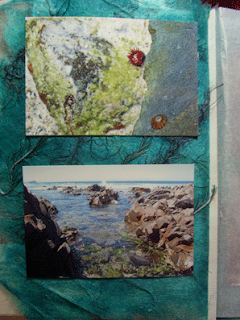
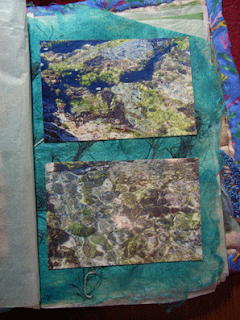
How many of the techniques can you see that I have used?
LESSON 15: Inspirational
This is the final lesson for this module. In it we had to research all who are involved in Raised embroidery. And most of all who gives us the most inspiration.
There are many within the embroidery world who do or have done some form of Raised embroidery. To many to list at this stage. But of them all my most favourites would have to be Barbara & Roy Hirst, Kay & Michael Dennis, Grace Lister & Jane Nicholas.
Time & Time again I refer back to works they have all done for inspiration or instruction. And they are all the reason I love doing raised embroidery as much as I do.
Well that is it for module three, I hope you have enjoyed my journey, & look forward to seeing you in module four. Until then, TTFN, Your Friend Elizabeth :-)