Lesson 1 Presentation
For this lesson we were asked to look at the way in which we presented our work. We were asked to think of new & exciting ways in which it made work look better. Much like framing an embroidery, we had to treat our home work the same.
We were asked to collect interesting things to make our books look appealing. So I set to & started looking at interseting ways in which books were made. I aquired over the course of some time, some very interesting books on book making & altered journaling. I decided that I wanted to make an A3 size book & using coptic binding to bind the book. The really hard part of making the book was finding the nice papers, to not only compliment my work but to also give the samples support. In the end I used card board for most of the pages.
Lesson 2 Sketch book
This lesson was much like the last lesson, in looking at ways in which to present our work. This lesson could be a whole course on its own. One in which I found lots of fun & enjoyment in collecting the bits & bods for, to put in a sketch book.
Lesson 3 Lines
Sample 1
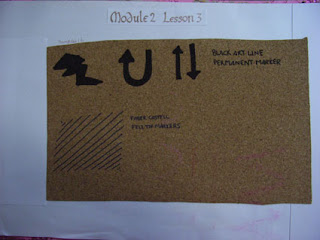
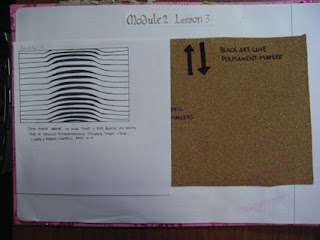
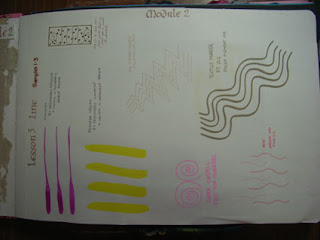
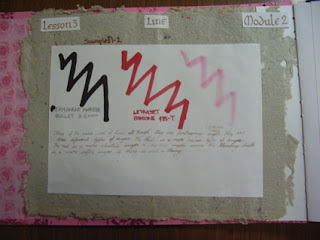
In this lesson we looked at how lines can create both emotion & illusion. We were asked to have a vatiety of different papers & colours & start to draw lines. Lines that arched, curved, zig zaged, soared, where bold or creepy & so on. We had to use different mediums as well to create impact.
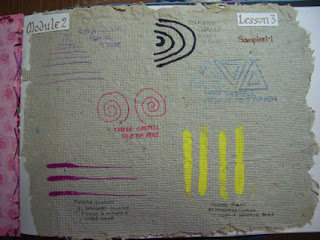
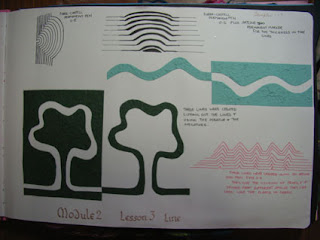
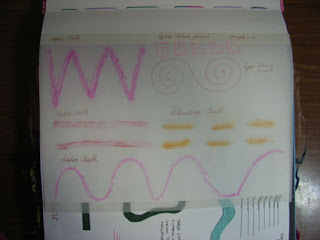
Sample 2
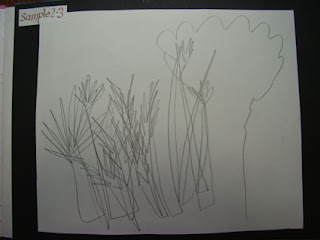
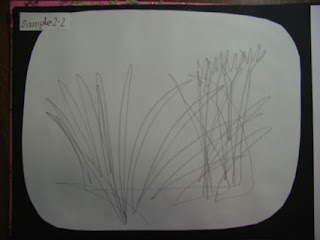
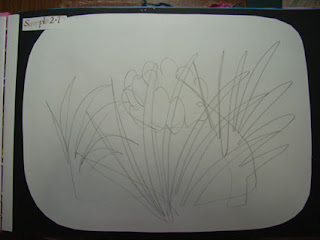
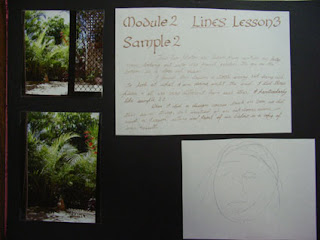
For this sample we needed a large piece of paper, white preferably, & a hard pencil or black felt tip pen. Then we needed to sit comfortably with an uninterupted view out of a window. We then had to focus on an area outside & draw the lines that we saw, without taking our pen of the paper & without looking at the peper.
Oh what fun I had, as you will see, I did at least three samples. And each looking very different, even though it was the same view & I had not moved. The only time I did move how ever was to change the paper.
Lesson 4 Seeing Lines
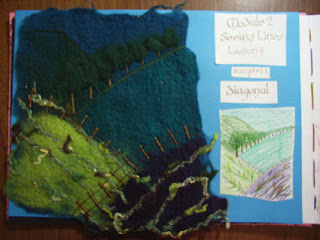
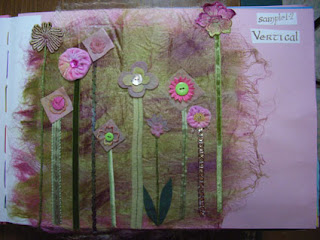
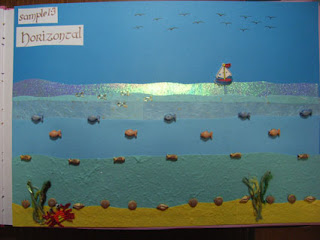
For this we needed to create three collages, showing line direction. Vertical, horizontal & diagonal.
Sample 1
My first sample shows diagonal lines. I have used felt & wool to create the background. I wet felted the whole back piece, then stem stitched in some of the hills in the background. After which I then glued on some sticks that I found in my yard, & glued on some more fibres to create the tree tops. To add some more depth, I stitched down some more sticks across the front, to represent fences.
Sample 2
This sample is done using Vertical directions. For this I made a piece of silk paper & then started glueing & sewing down different briads & ribbons to create the stems of the flowers. The stems are the vertical of this piece. The flower heads are a mixture of hand made to bought beads, buttons & lace trims.
Sample 3
This one is done using the horizontal lines. For this sample I used different papers to create the horizontal lines, for the sea. I have then embellished the piece with beads & buttons, & a few stickers.
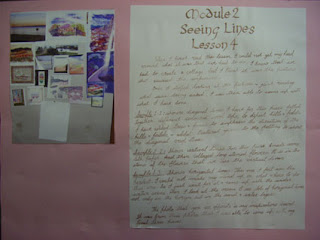
All of the design ideas for these samples came from a story board of pictures that I had collected. I had been collecting pictures from magazines & taking my own photographs of landscapes & directions from the begining. I then made them up into what I called my inspiration board.
Lesson 5 Fibonacci
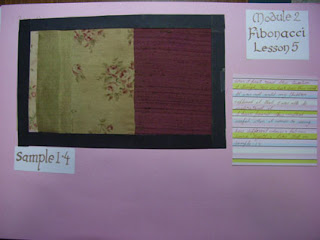
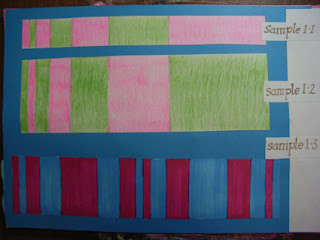
When I first read this question, I thought to myself, " How on heck does this work?" All I saw at first was a series of numbers. 1 2 3 5 8 13 & __. It was not until my children explained it to me that I was able to understand it. I had to add each number to get the next number in the sequence. 1+1=2, 1+2=3, 2+3=5, 3+5=8 & so on. I then thought to myself, "how does this apply with embroidery?" Then with a little experimenting I found that this method is very useful in how things are laid out. Take quilting & patchwork for an example. This method is great for working out how much of each fabric works in the design.
We had to do some samples of how this method works, here are mine.
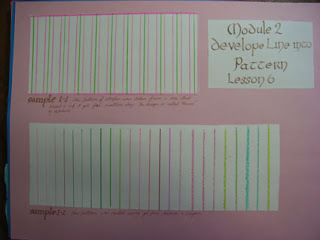
Lesson 6 Developing Line into Pattern
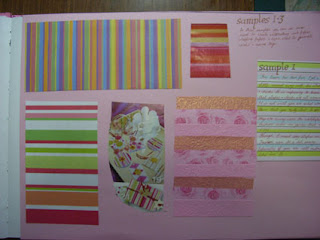
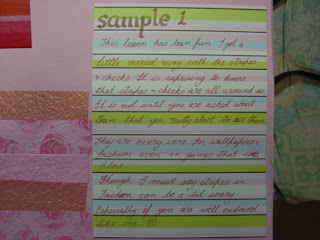
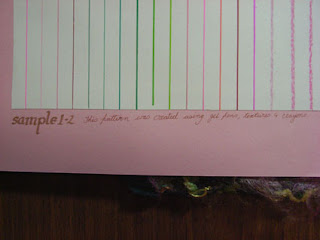
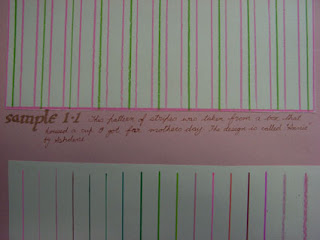
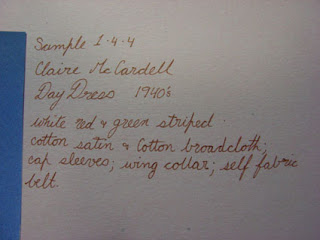
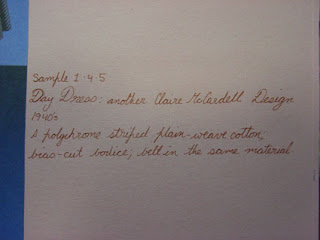
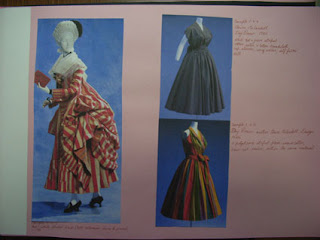
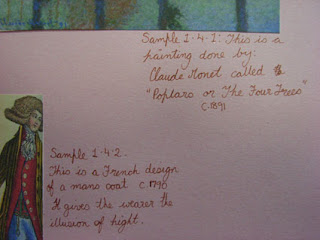
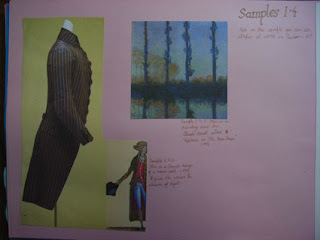
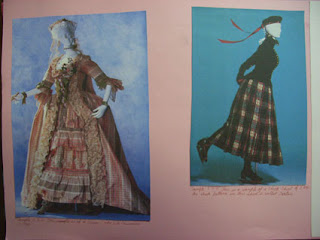
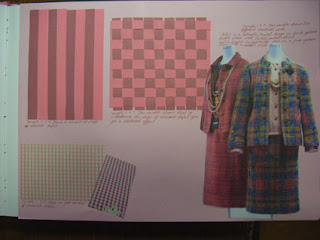
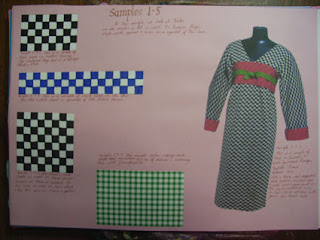
In this lesson we were asked to collect pictures of line & checks. We were asked to look at the lines, to create stripes, & the develope them into checks. When you look around, you can see lines/stripes & even checkers everywhere. In fashion, art, landscapes, law, motor racing & even in games.
Lines in fashion can be a very shaping design. For example: Vertical line can make you appear taller, were as horizontal lines can make you look wider.
Lesson 7 Taking a Pencil
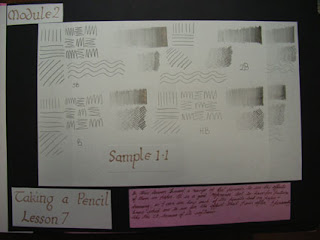
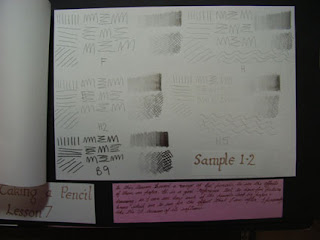
Sample 1: In this lesson we needed a selection of lead pencils. And creating lines we needed to show the strenghts of the pencils. We had to draw lines that showed weight, & using the pencil to create shadings.
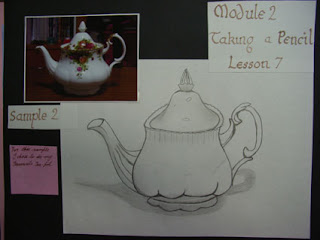
Sample 2: In this sample we had to choose a favourite object, & then draw it. I chose to draw my favourite Royal Albert tea pot.
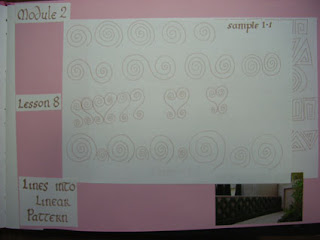
Lesson 8 Lines into Linear Pattern
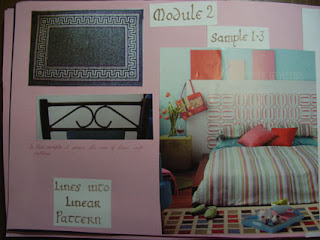
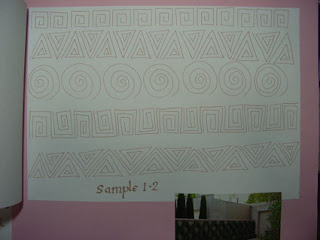
For this lesson we had to create patterns from simple lines. This was quite fun. I also collected some pictures of where I saw my line designs.
Lesson 9 Photographing
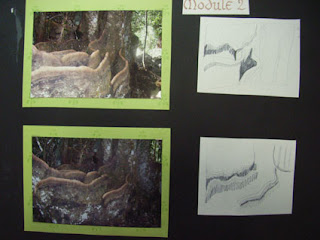
In this lesson we had to take photos of things that we would interpret into our designs. Into Stumpwork embroideries. From these photos we had to do some sketches & then finally into embroideries.
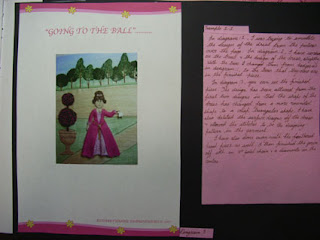
Sample 1: This is a piece that I had designed earlier for a practical teachers course that I was doing through the NSW embroiderers guild Australia.
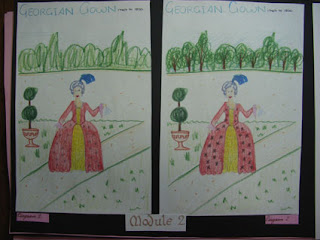
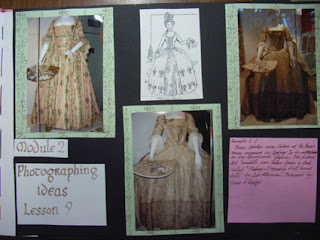
Sample 2: The second sample was also done for the teaching course that I was doing, through the NSW Embroiderers Guild.
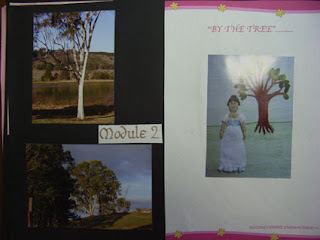
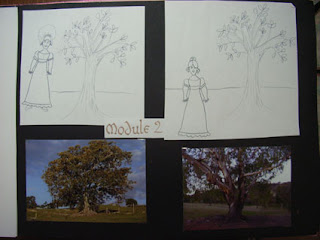
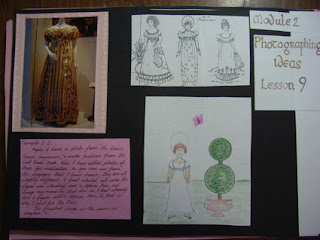
Sample 3: My third sample is from a work shop that I did with Jean Draper when she was over here in Australia. It is still a work in progress.
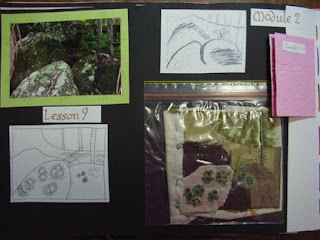
Lesson 10 Silk Shading
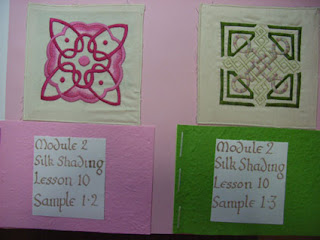
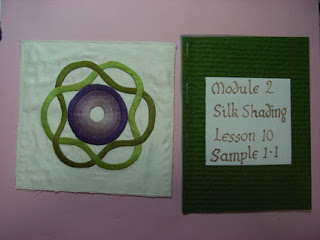
In this lesson we were asked to take interesting shapes & using a combination of Satin stitch & long & short stitch, to fill in the shapes.
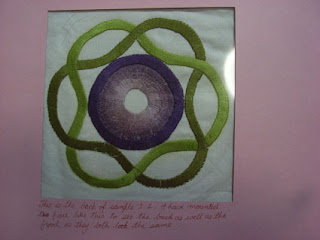
I found this lesson very theraputic. And when it came to putting these samples in my book, I could not work out how to best display them, as both sides of the work looked as good as each other. So I decided to cut out squares in each of the pages, so that you could see both back & front. I am never normally fussed about the back of my work, as most time you do not get to see it. But this time is an exception. For each of the pieces that I did, I created little books to show photographs of each step that I took. These too were very interesting, in that each stage of the embroidery looked good on its own, & it also gives me ideas for future embroideries of this kind.
Lesson 11 Buildings & Backgrounds
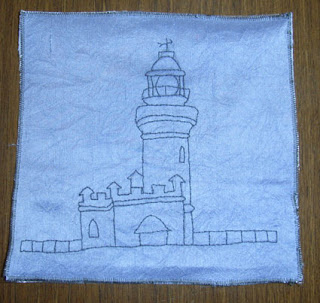
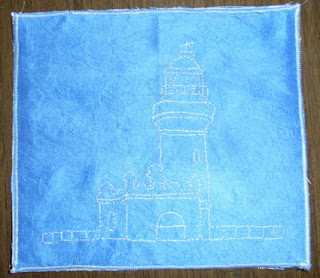
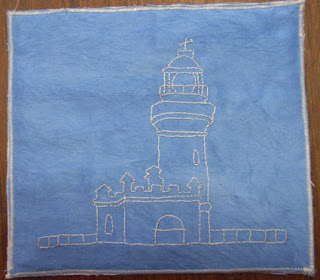
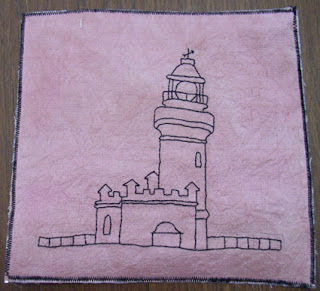
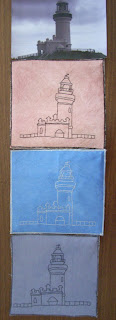
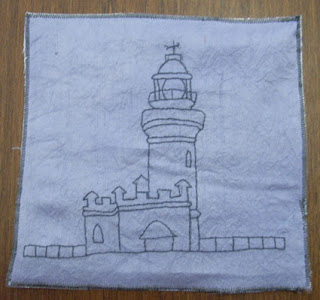
In this lesson we had to embroider at least three contrasting line buildings, using only back stitch. And varying the background & thread colours. I had chosen to do the Light House at Byron Bay NSW Australia. We also had to write in our notes what piece of raised embroidery we would use with it.
I had completely miss interpreted this lesson, in the fact that i did all the same building. I have to re-do this lesson, & embroider two more different buildings. So watch out for them in the next module.
Lesson 12 Coming Together
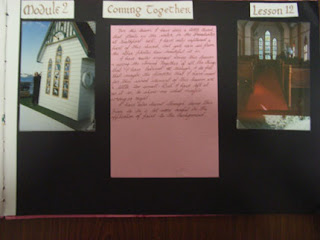
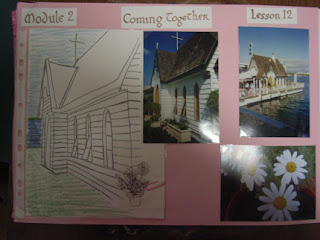
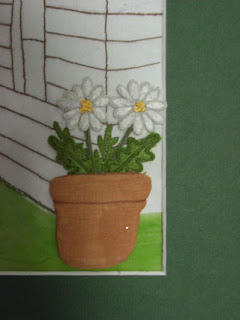
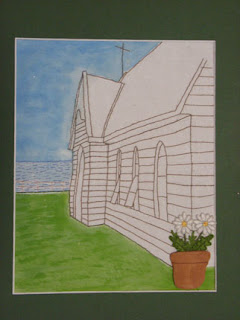
For this lesson we had to choose a building we liked, & like before, embroider it. We also had to colour our background to suite. But this time we not only had to embroider the out line of the building, we also had to do the raised embroidered piece as well.
I chose to do a little church on the water, that I used to work on. And I did a pot of daisies, in the forground. I could of, however added another pot of daisies, & also added a line embroidery of a boat in the water behind the church. Next time I will.
I finished Module two in September 2008
Watch this space for module three. Coming to you some time in the next year :-)
2 comments:
wow this looks like a lot of work, but you've done some really cool work.
Well done Elizabeth.
Arlene
You are really enjoying this C&G course Elizabeth and I enjoyed browsing.
Post a Comment